Why Use Live Chat on Your WordPress Directory Website?
When a visitor lands on your directory website, they’re generally looking for some sort of business information. And while most visitors find what they are looking for, many visitors who even want to consider adding their own business might want to chat and ask few questions before they decide to submit their own business listing.
So what’s the best way to do that? Obviously, a good live chat plugin. Having live chat activated on your directory website is an indicator to your visitors that you want to build a relationship, and that you are there to help provide support.
There are many live chat options on the market today, and with so many options, it can be hard to choose which one to use for your business. We recommend HubSpot, a free live chat plugin for WordPress that provides a lot of amazing functionality. With HubSpot’s WordPress plugin, you can quickly add live chat and chatbots to your pages.
Adding Live Chat to WordPress Directory Website
In this article, you will learn how easy it’s to add HubSpot live chat to your ListingPro WordPress Directory website for free.
ListingProWP has not made any enhancement to integrate with HubSpot, as it already provides a tight integration with WordPress.
Once the HubSpot is activated on your WordPress website, all the new sign ups in your ListingPro directory website including the once that have submitted a listing will automatically sync and appear under the HubSpot Contacts list for further communication via the CRM.
Currently we did not find a way to filter the users based on whether they are a listing owner or a visitor. A workaround is to go to WordPress Admin > Users and export the users. Now the users that has zero (0) listings are visitors (general users) and once with one (1) or more listings are Listing Owners. You can create a separate column and differentiate visitors vs listing owners and reimport into HubSpot Contact list.
Also checkout the ListingPro add-on Email Blaster Pro which has a built in filtering option to send targeted emails.
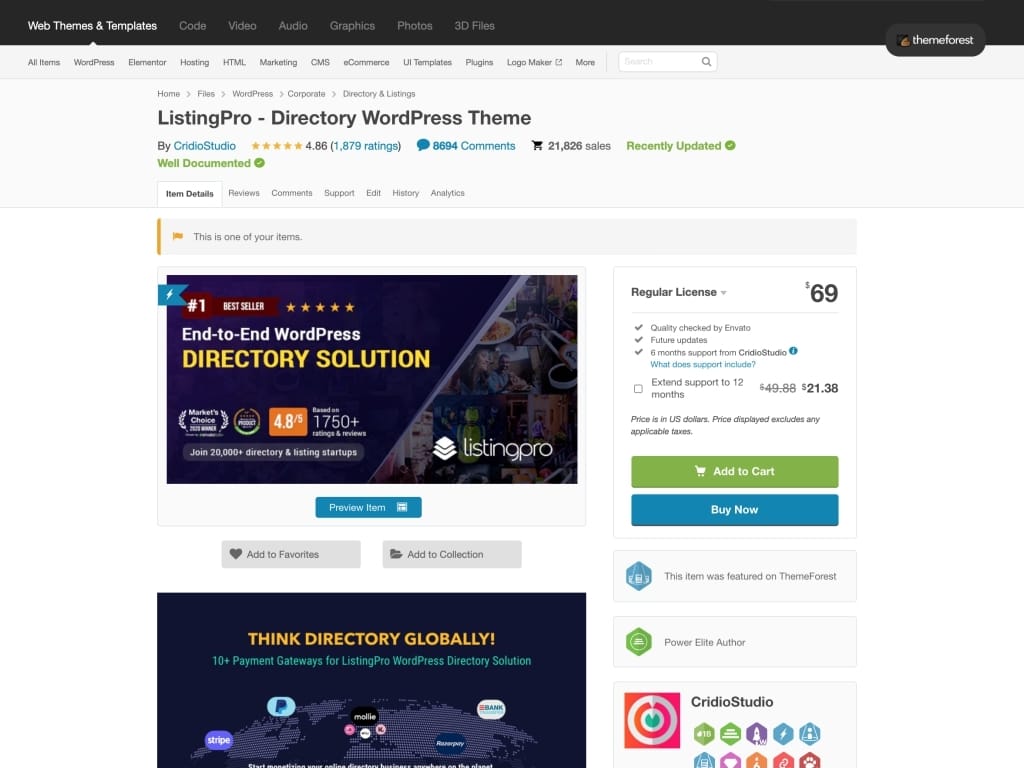
STEP 1: Go to Envato to download and install ListingPro WordPress Theme
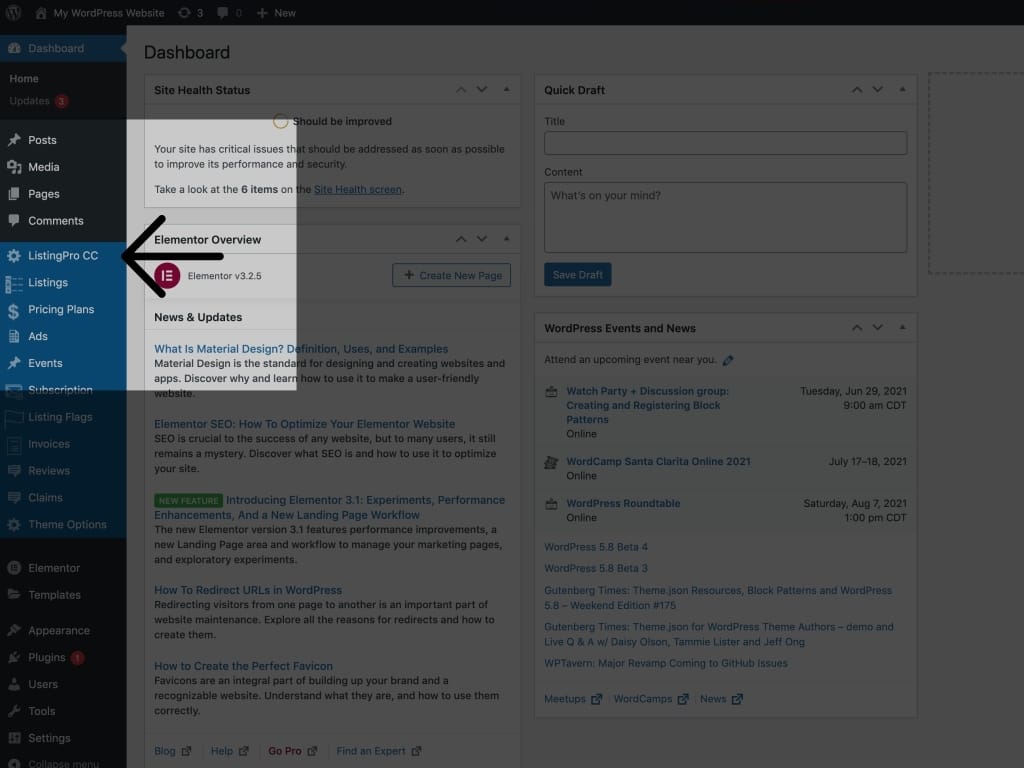
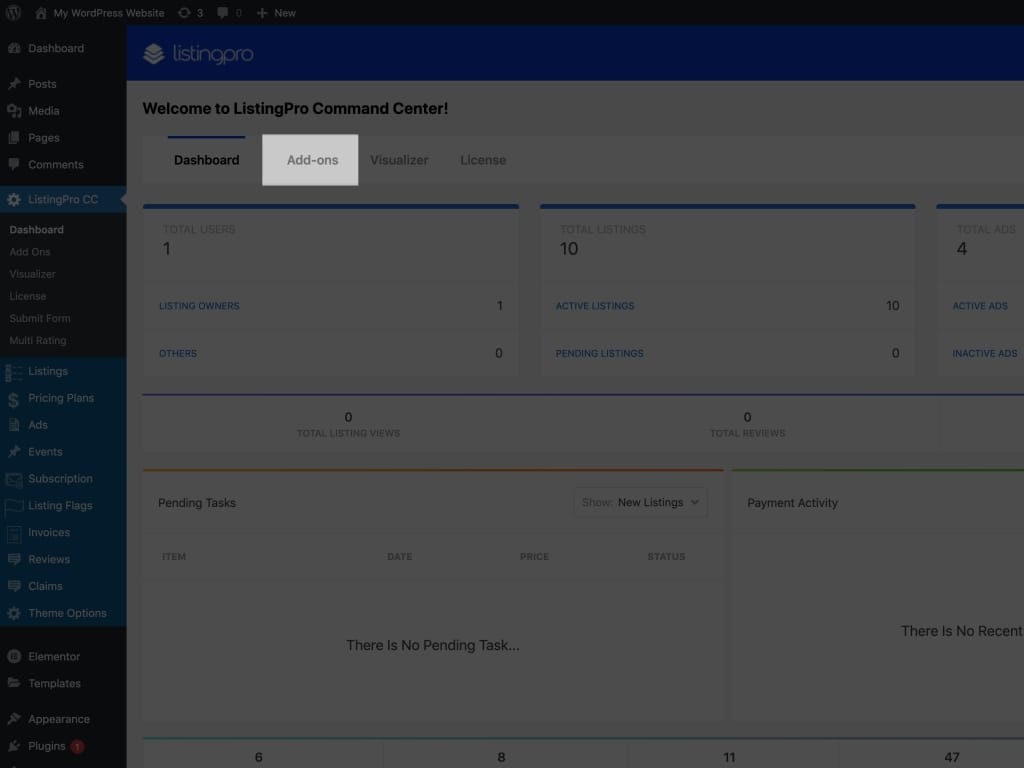
STEP 2: Go to WordPress admin and click ListingPro CC from the left panel.
STEP 3: Click the Add-ons tab.
STEP 4: Now you can find Hubspot as a suggested Add-ons on the bottom right.
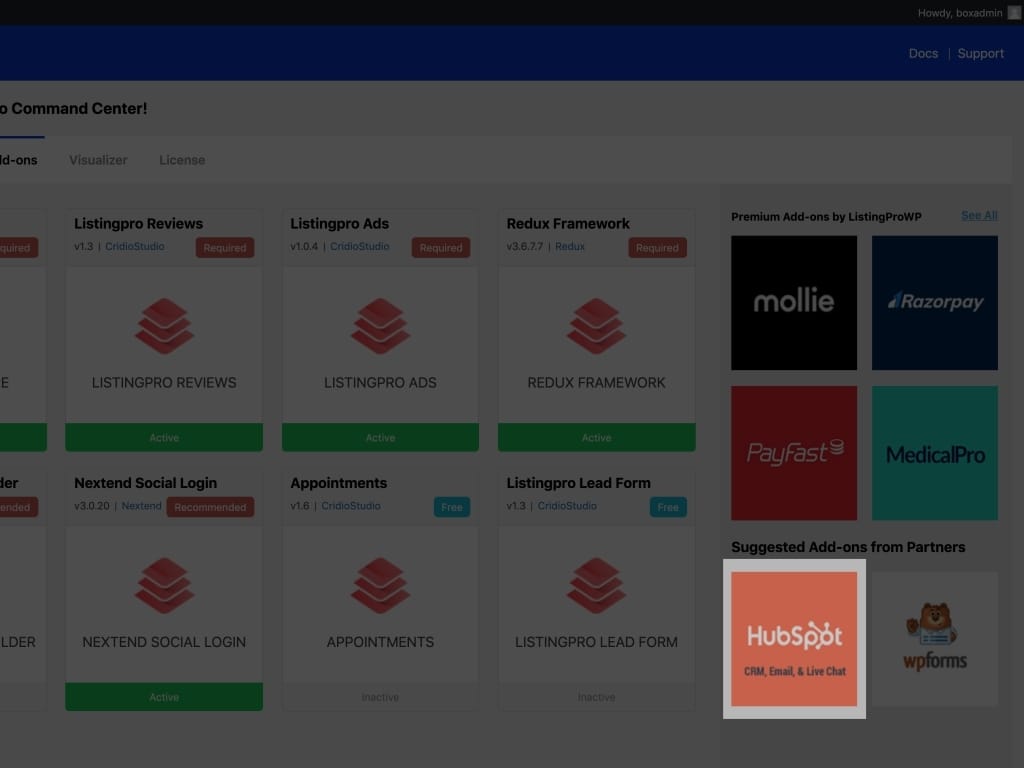
STEP 5: Click the Download button

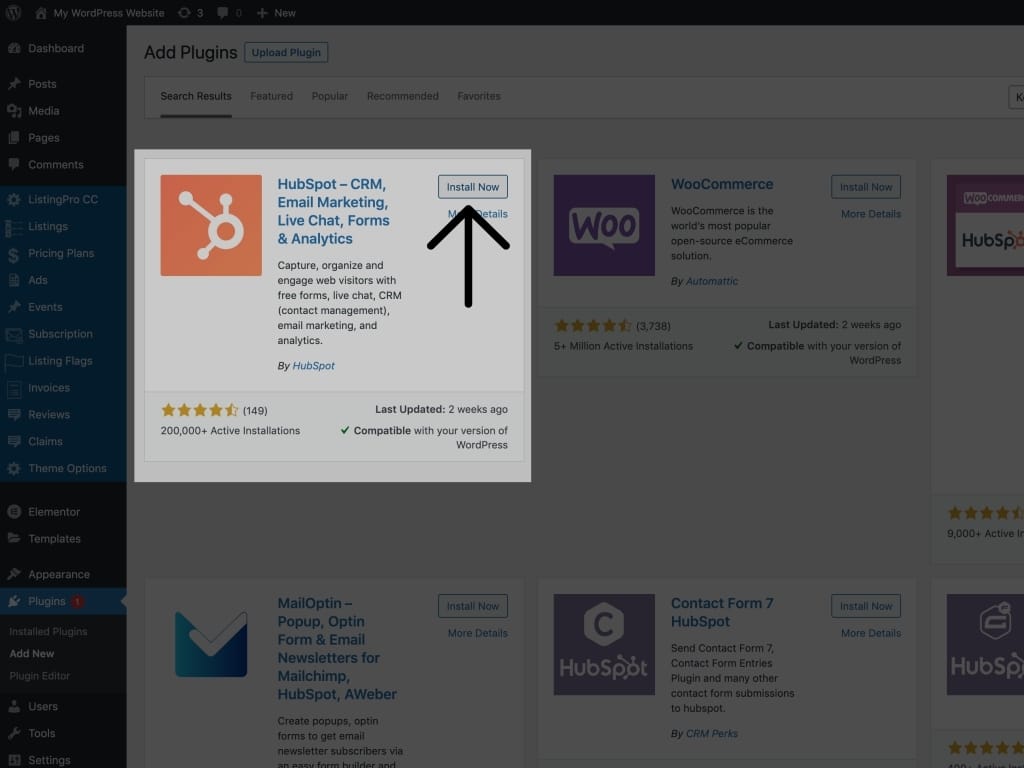
STEP 6: Now click the Install Now button to start the Hubspot plugin installation.
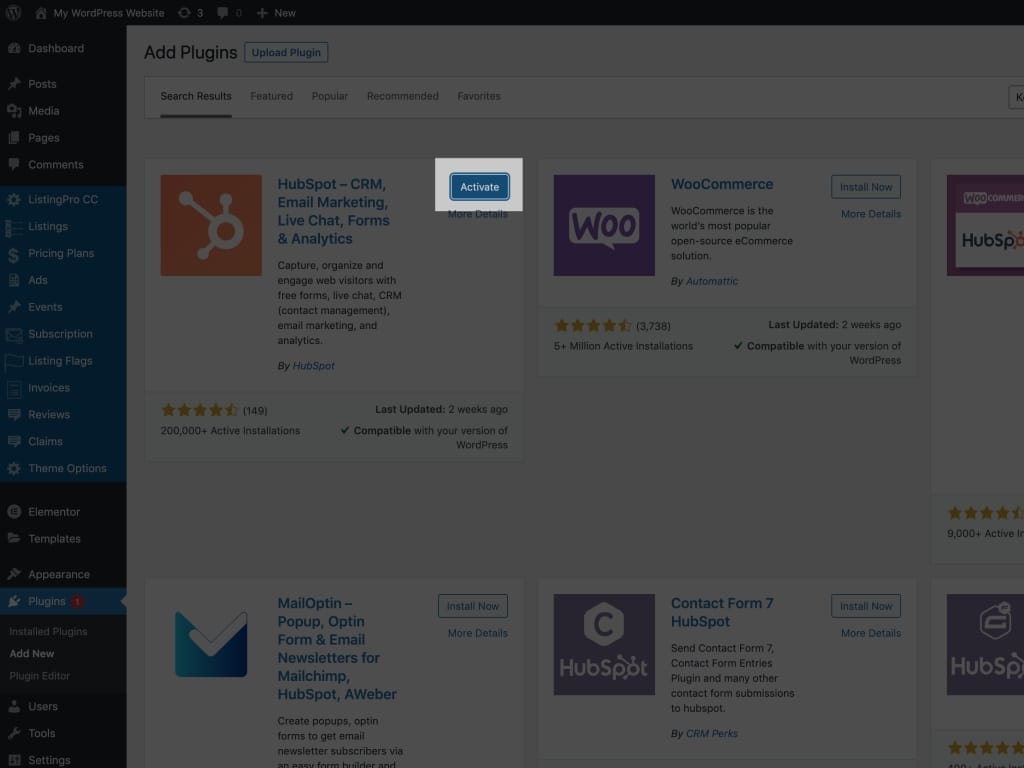
STEP 7: Once the installation completes, activate the plugin.
STEP 8: After plugin activation, you will be redirected to the Hubspot setup wizard to create your free account.
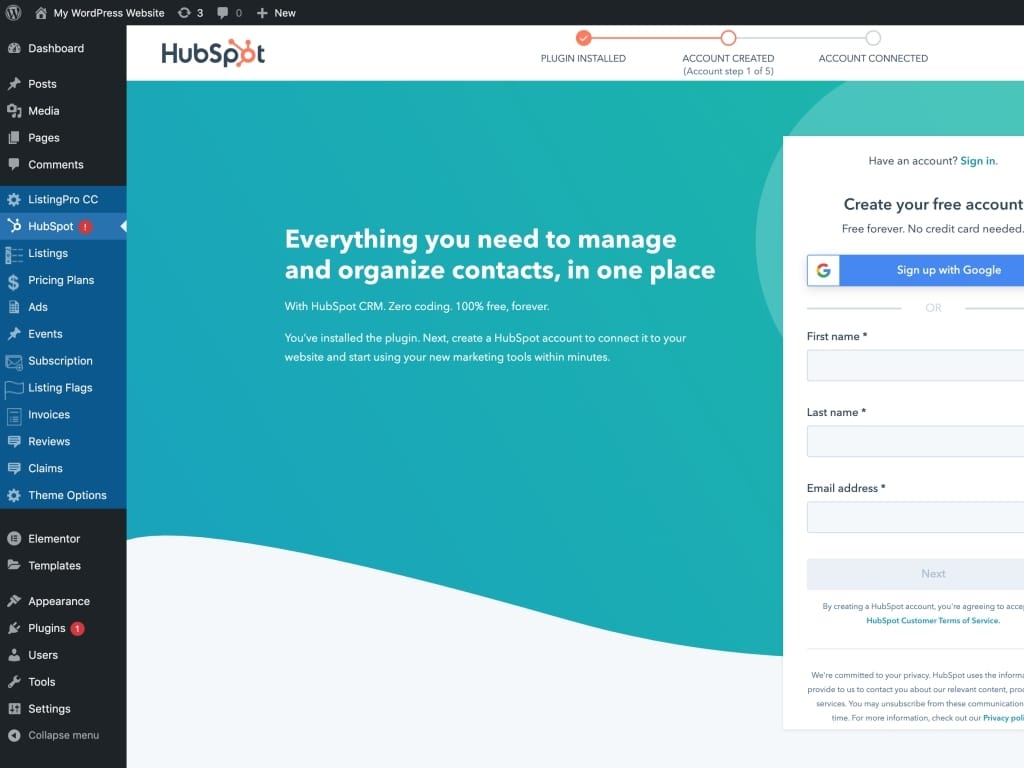
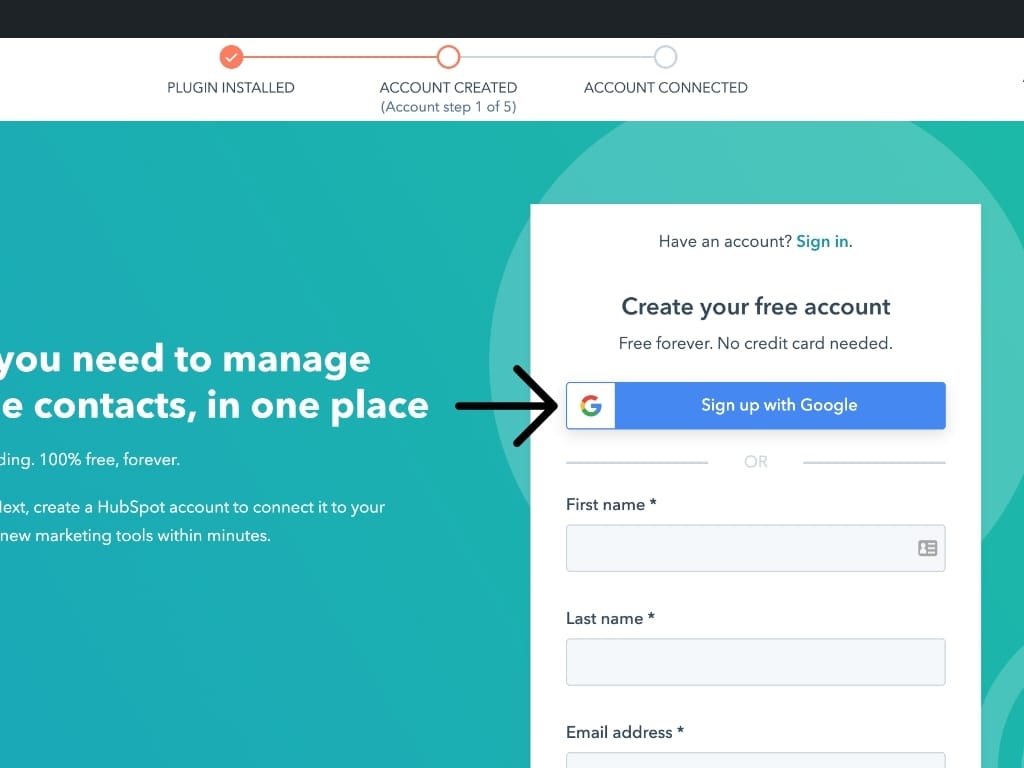
STEP 9: The fastest way is to sign up with Google and login.
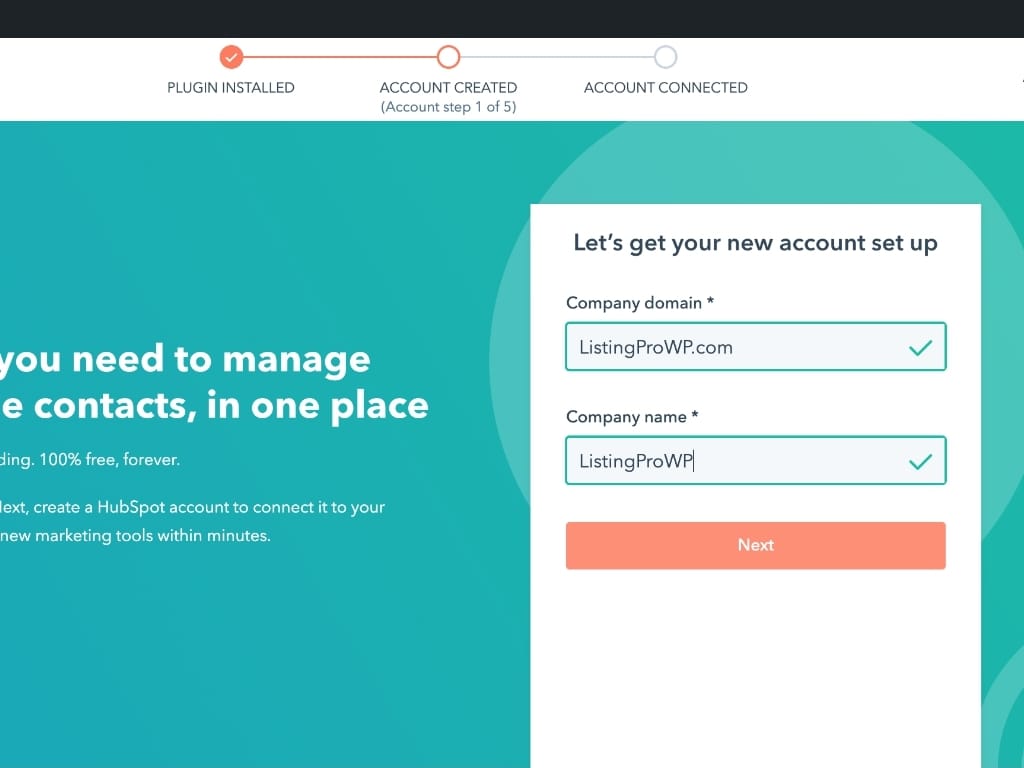
STEP 10: Next, it will ask you to fill in domain and company info.
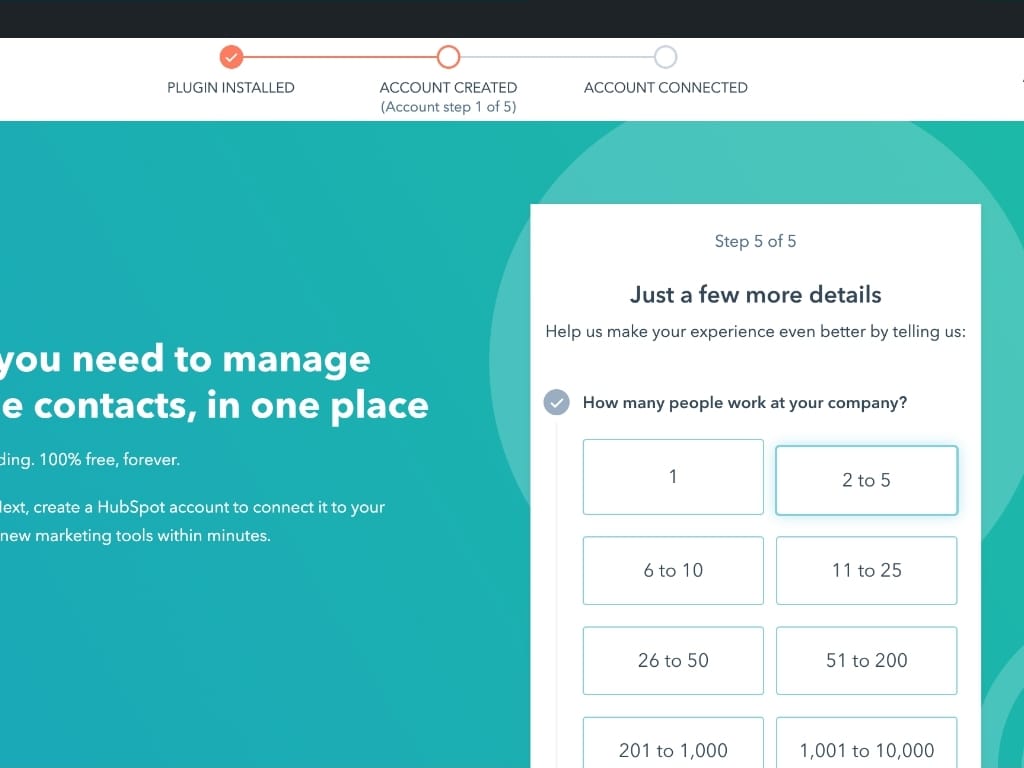
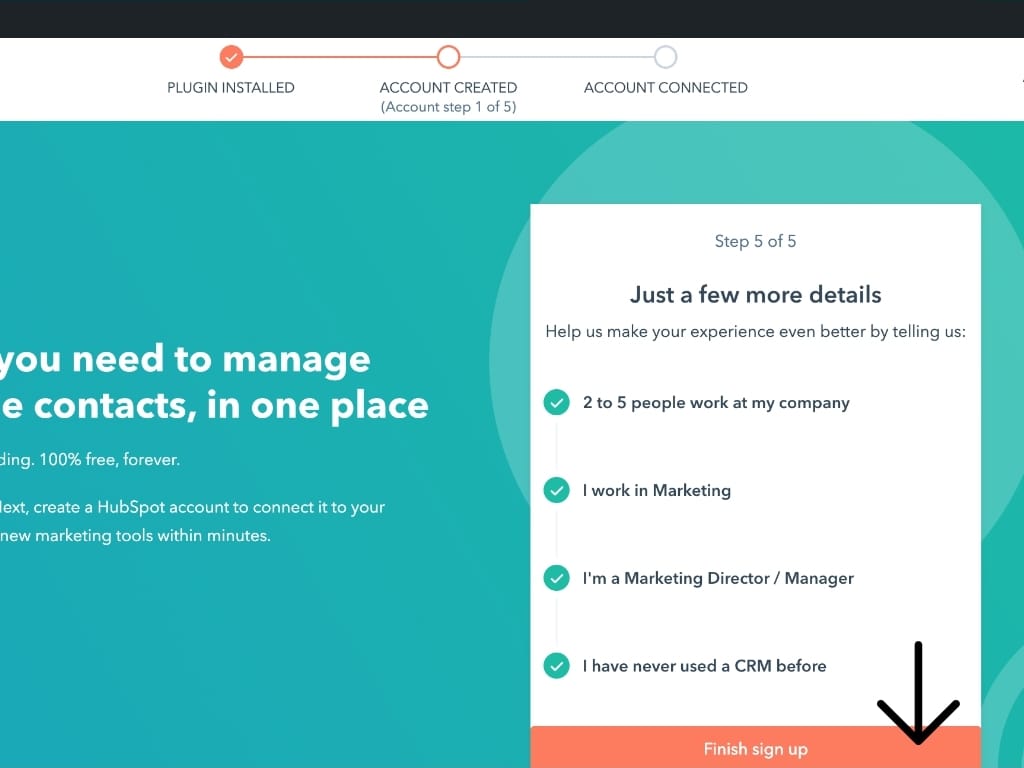
STEP 11: Next, select the appropriate options that apply to you.
STEP 12: Once done hit Finish sign up
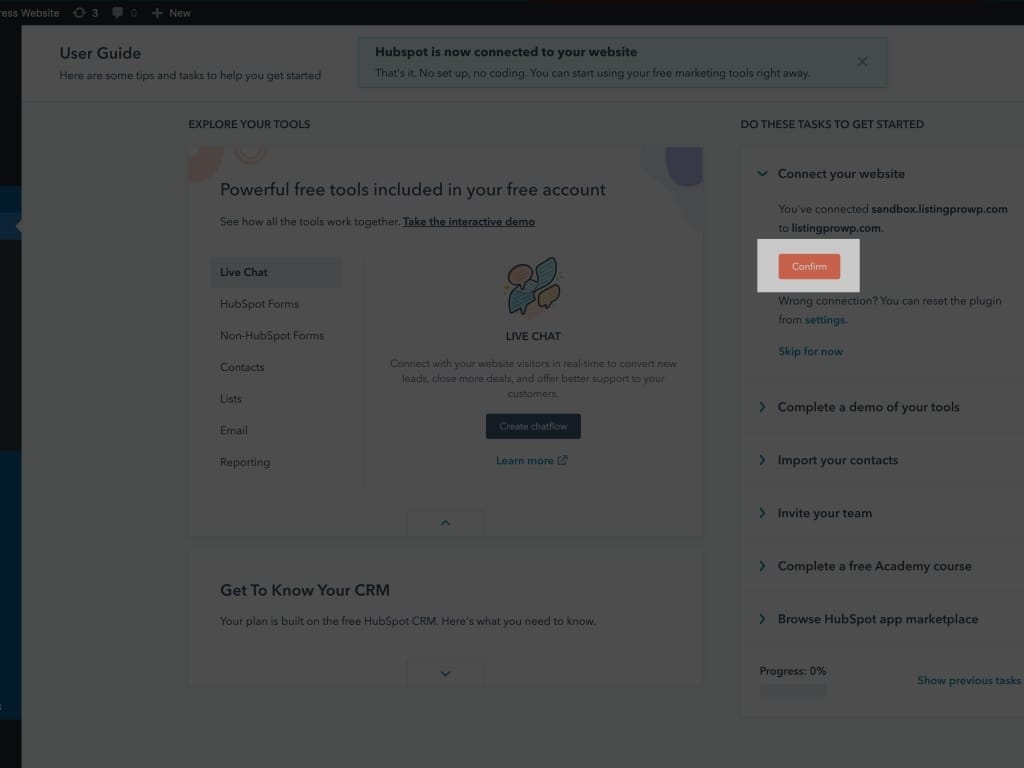
STEP 13: From the right panel, click Confirm after verifying the URL.
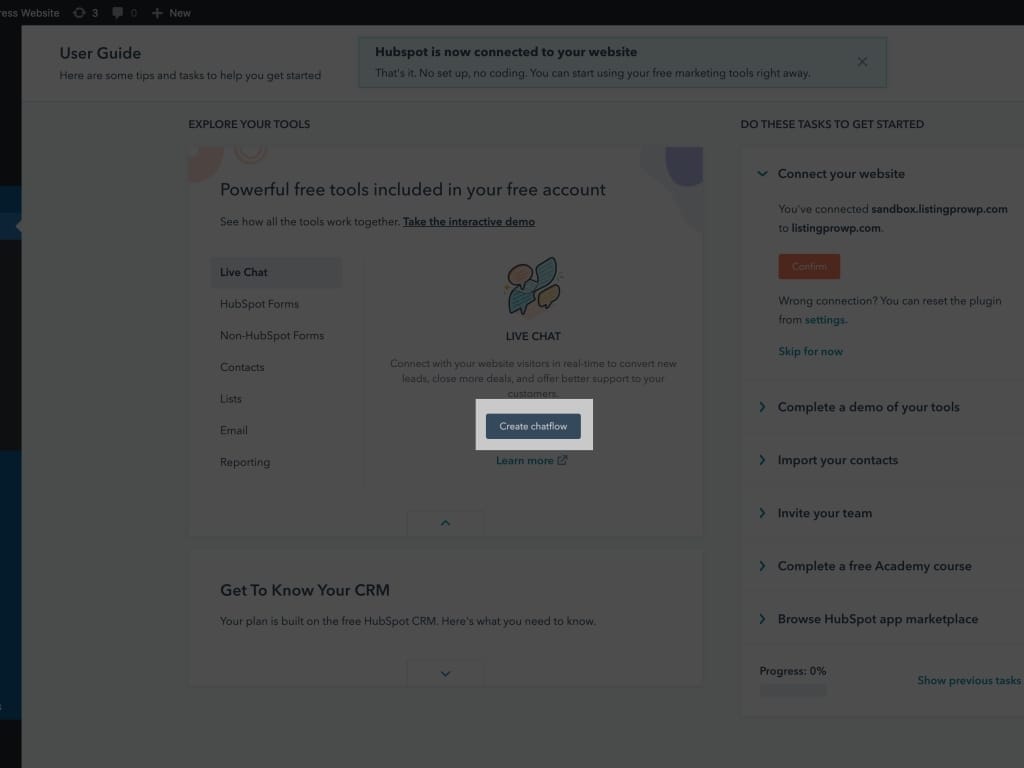
STEP 14: Now let’s go ahead and setup the live chat by clicking Create chat flow
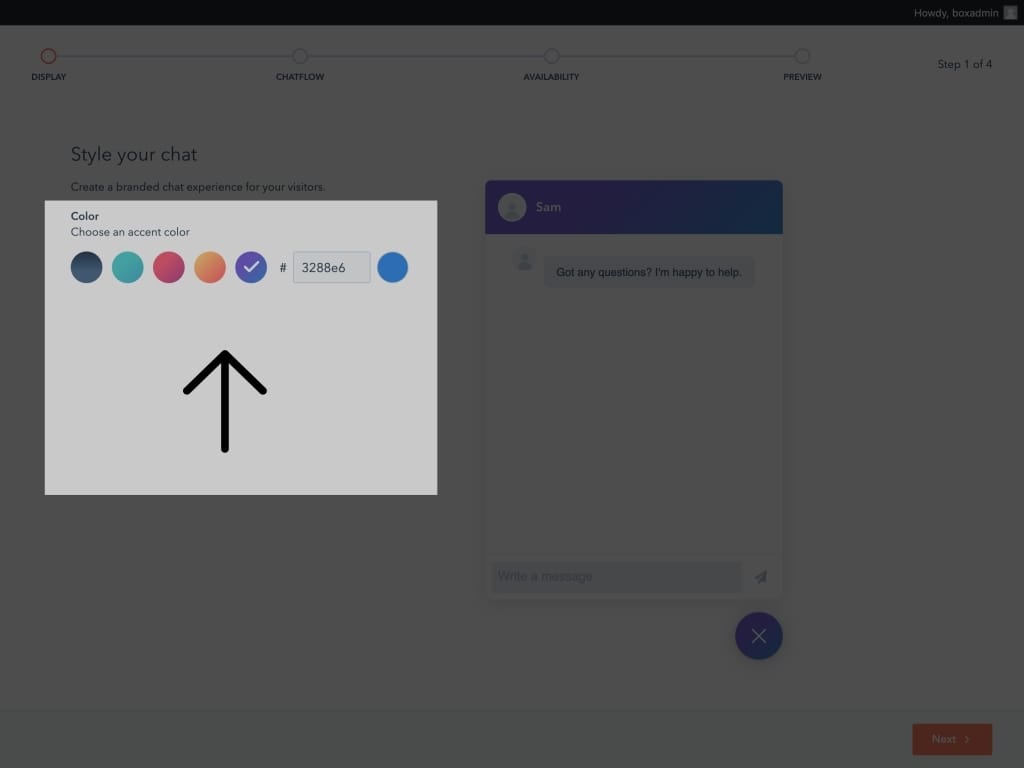
STEP 15: Select your chat box color that matches closest to your brand, and then hit next.
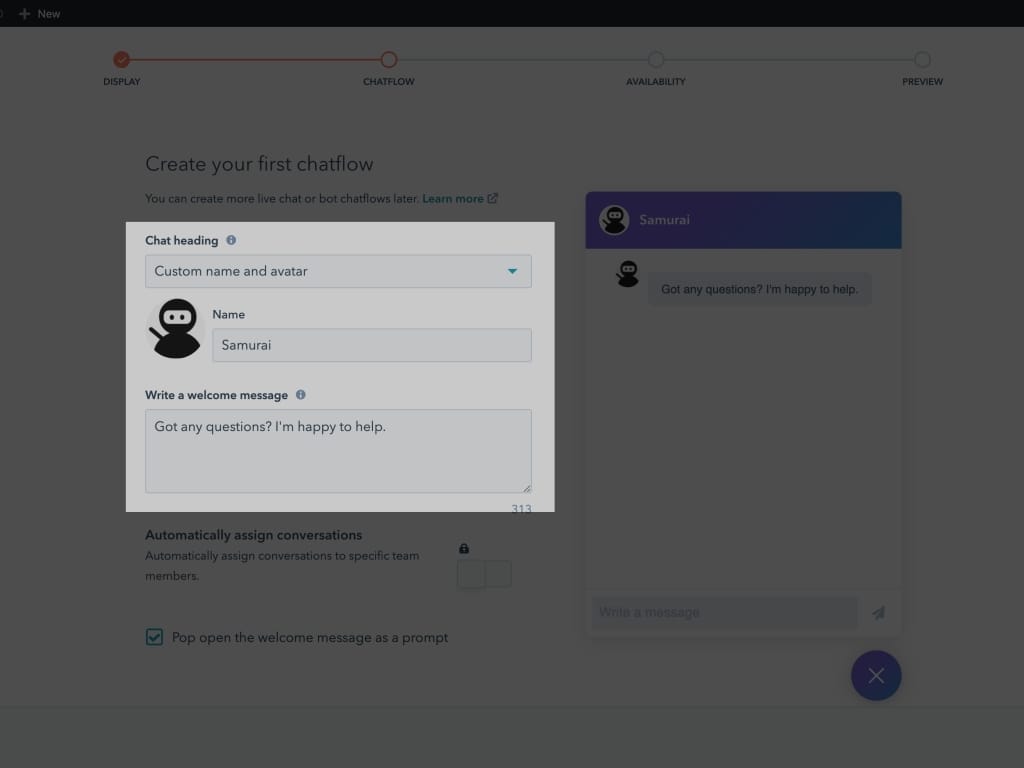
STEP 17: Add a photo, name, and welcome message, and then hit next.
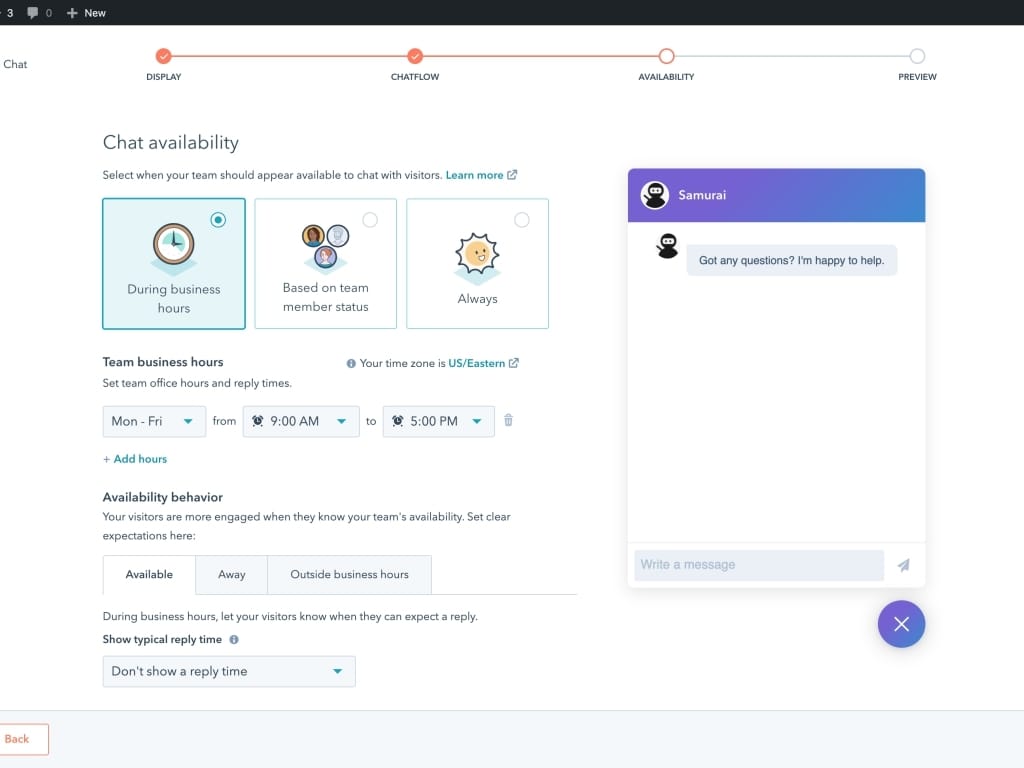
STEP 18: now configure the availability for the chatbox
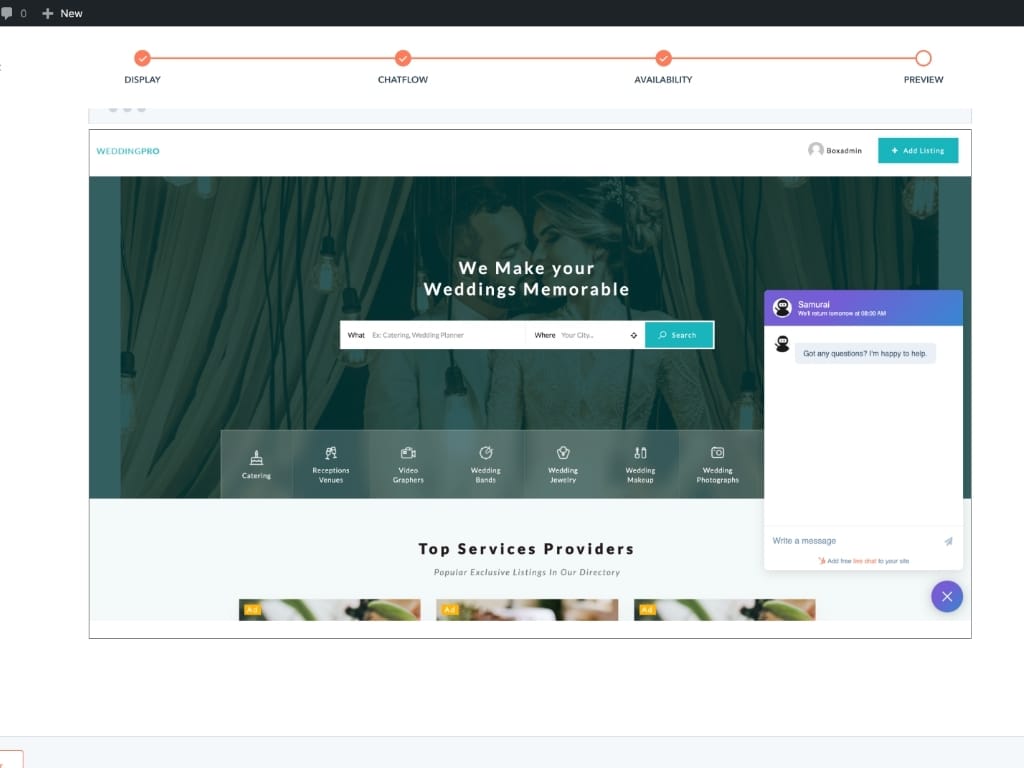
STEP 19: Check the preview and hit publish.
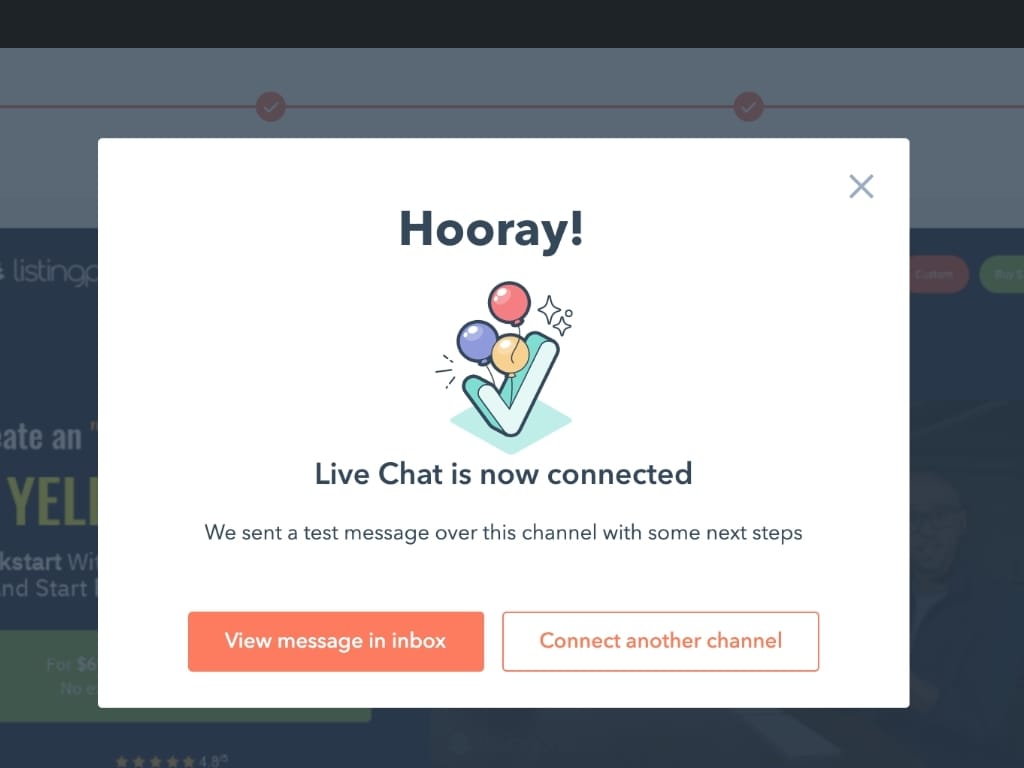
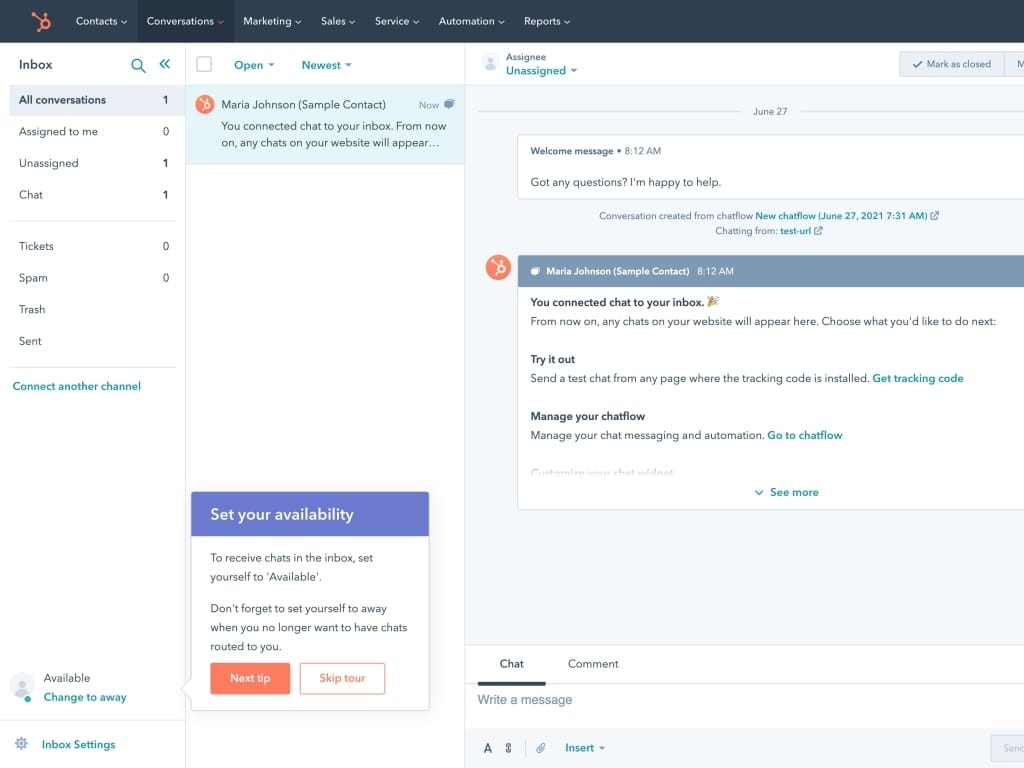
STEP 20: Once it successfully connects you will be prompted and then you can go to your new inbox.
STEP 21: From your inbox, you can communicate with your customers.
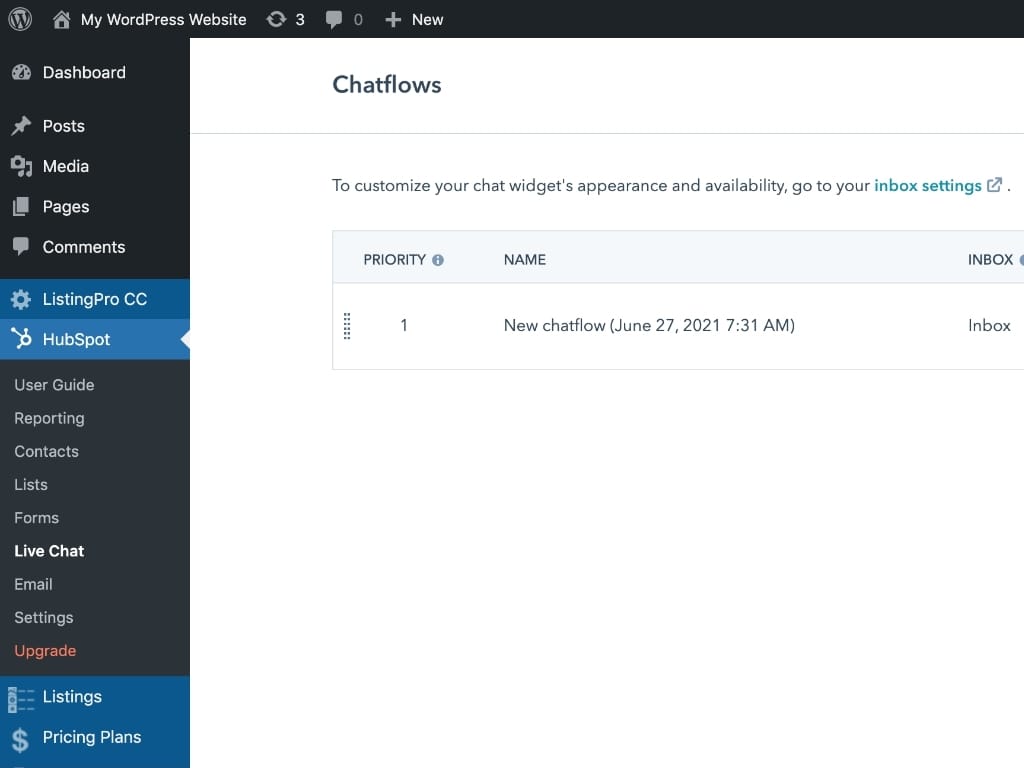
STEP 22: Go back to WordPress admin and your newly created Chatflow will be now available to make further changes.
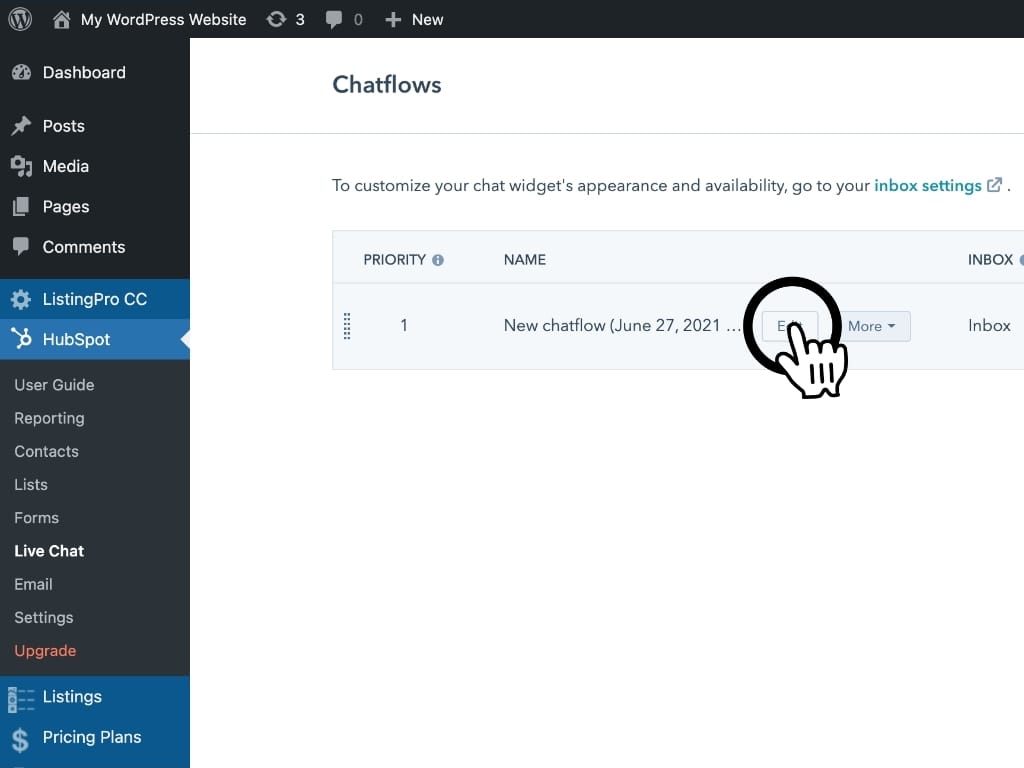
STEP 23: For advanced settings, you can mouse over the chatflow and click edit.
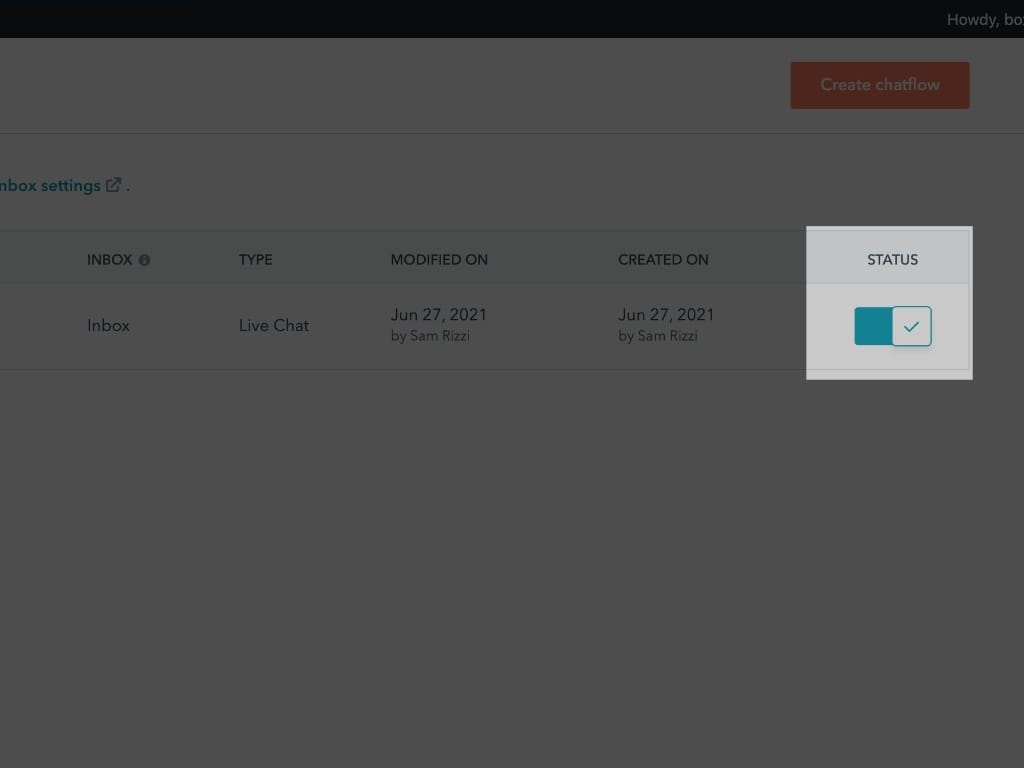
STEP 24: Lastly verify the chatflow status is enabled.
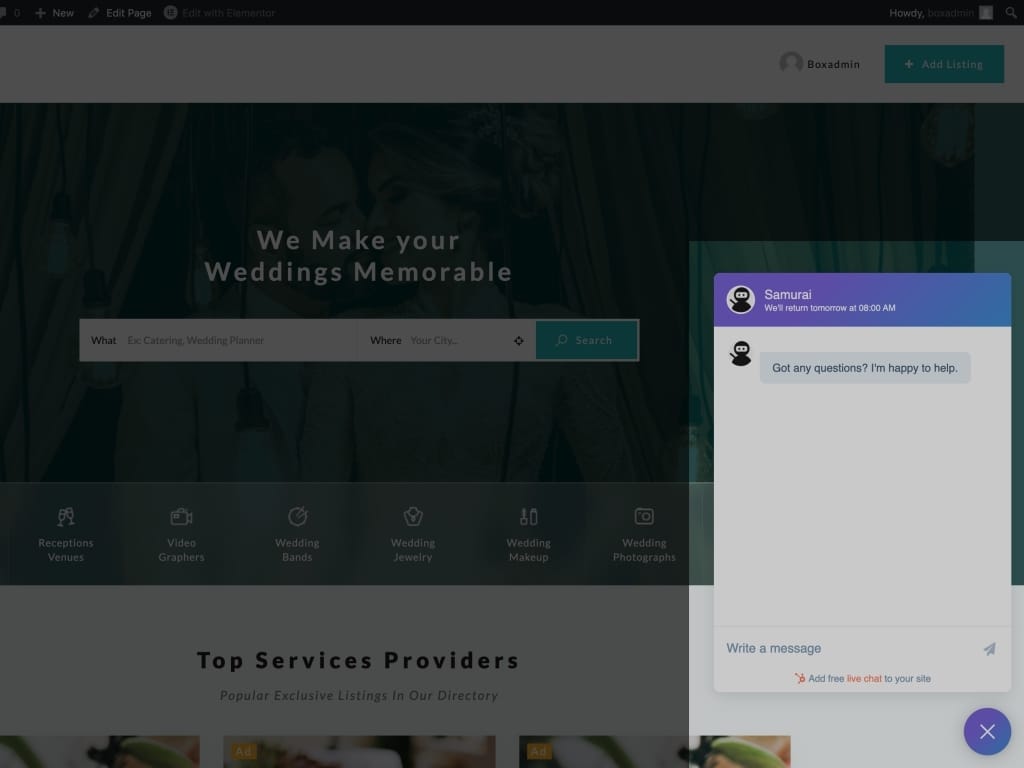
STEP 25: Now open your ListingPro directory website in a private window to check if the chat box appears.